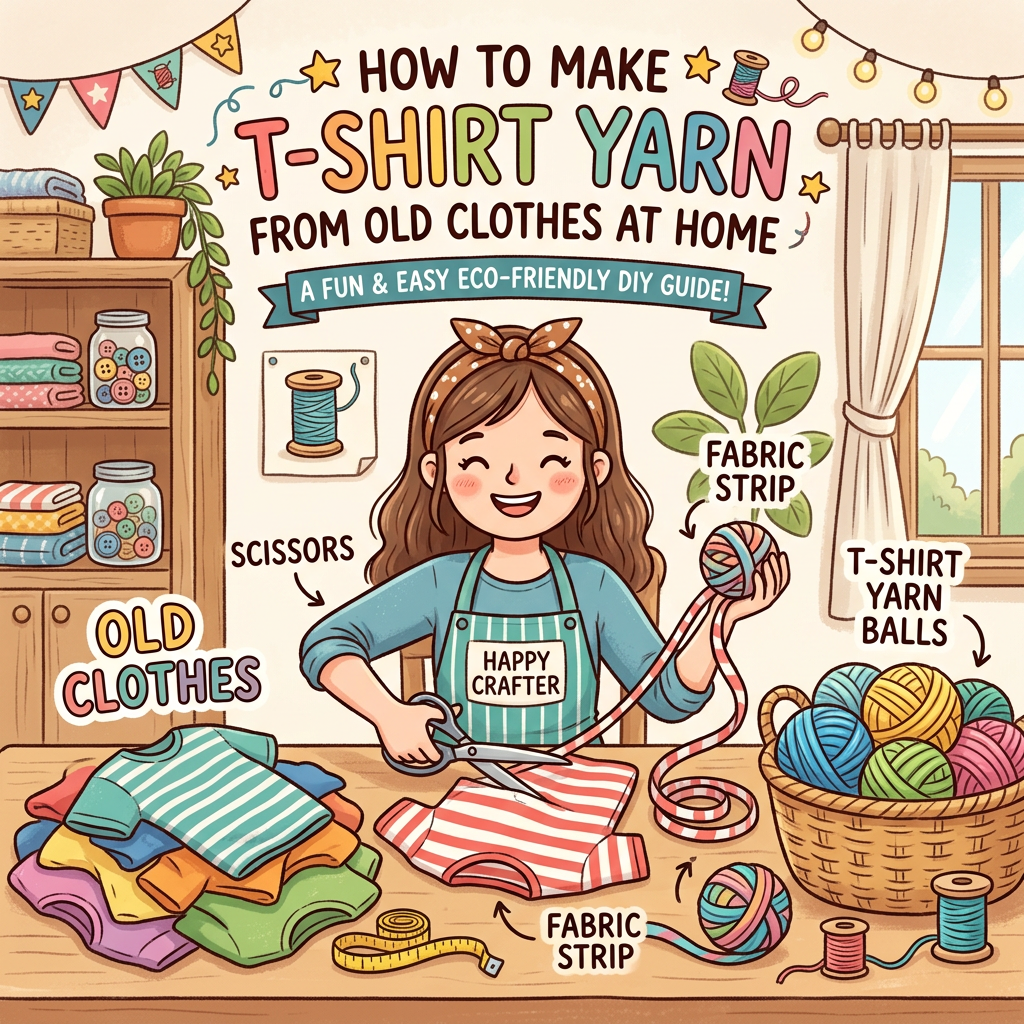
How to Make T-Shirt Yarn From Old Clothes at Home
Old T-shirts, stretched-out leggings, and worn sleep shirts don’t need to end up in the trash. With a few simple cuts, they can turn into t-shirt yarn that works for baskets, rugs, coasters, plant hangers, and more.
The prep matters because good yarn starts long before you pick up a hook or loom. When you choose the right fabric, cut it well, and store it neatly, you save money, cut waste, and build a stash of useful material from clothes you already own.
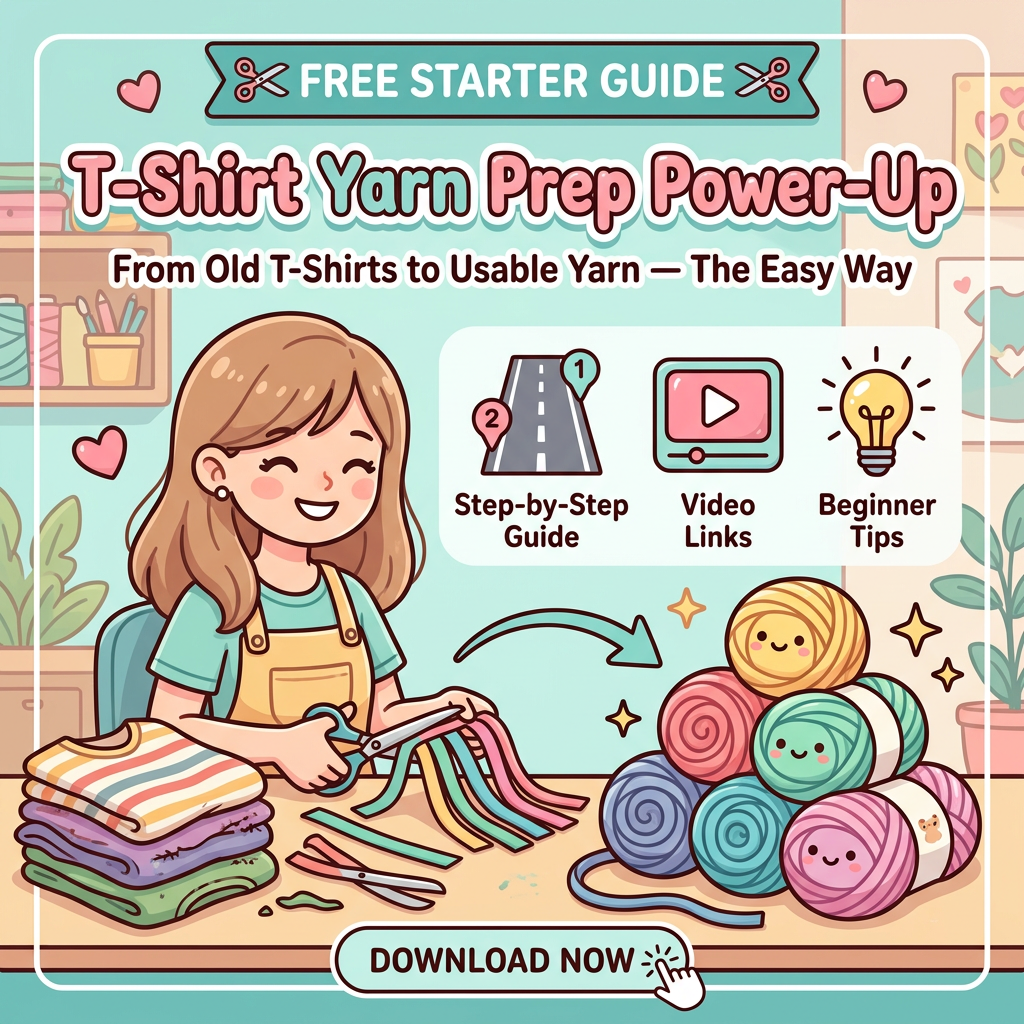
Get Started the Right Way!
Free T-Shirt Yarn Prep Guide
- Step by Step Prep
- What kind of t-shirts to use
- How to cut them
- How to roll and store them
- Mistakes to avoid!
Why old clothes make great t-shirt yarn
Soft knit clothes have one job here, they need to stretch without falling apart. That is why old cotton tees are the usual favorite. The fabric bends, curls into a tube when pulled, and feels nice in your hands. Leggings, pajama tops, and light knit dresses can work too, as long as the fabric has some give.
Upcycling fabric also changes how you think about supplies. Instead of buying bulky yarn for every project, you can turn a drawer of tired clothes into something usable. That keeps textiles out of the waste stream and gives you more room to make practical items at a low cost.
A quick fabric check saves time before you cut. This comparison helps:
| Fabric type | How it behaves | Good for yarn? |
|---|---|---|
| Cotton jersey T-shirts | Soft, stretchy, curls well | Yes |
| Cotton-poly jersey blends | Smooth, slightly springy | Yes |
| Leggings knit | Stretchy, often thinner | Yes, if not slippery |
| Sweatshirt fleece | Thick, bulky, sheds edges | Sometimes |
| Woven button-downs | Little stretch, stiff strips | No |
| Sequined or embellished tops | Uneven, rough, hard to cut | No |
The short version is simple. Soft knit fabric gives the cleanest, strongest, and easiest yarn for most projects.
The best fabrics to use for a smooth, sturdy yarn
The easiest fabric for learning how to make T-shirt yarn is cotton jersey. It cuts cleanly, stretches well, and rolls at the edges when you pull it. That edge curl helps the strips look more like yarn and less like flat fabric tape.
Cotton blends also work well. A small amount of polyester or spandex can add bounce, which helps if you want firmer baskets or sturdy handles. Still, if a shirt feels slick or overly springy, test one strip first. Some blends stretch too much and turn floppy.
A fast way to spot a good candidate is to pinch a side seam and tug across the width. If the fabric stretches, snaps back a bit, and feels soft instead of brittle, it’s probably worth using.

Another clue is how the fabric drapes. If it hangs loosely and doesn’t feel heavy like canvas, it will usually cut into better strips. Thin fabric makes lighter yarn. Medium-weight jersey makes the most flexible all-purpose yarn.
Clothes to skip or save for other projects
Some clothes fight you the whole way. Stiff woven shirts, badly frayed tops, ribbed fabric with poor recovery, and anything covered in beads or vinyl prints are better left out of the yarn pile. They don’t cut evenly, and they won’t feel good in a finished project.
That doesn’t mean they’re useless. You can still save them for other jobs:
- Worn woven cotton works well as cleaning rags.
- Thick scraps can become stuffing for pet beds or draft blockers.
- Pretty sections with prints can patch bags, aprons, or quilt backs.
If a shirt has sentimental value, pause before cutting. A concert tee with a favorite graphic may work better as a pillow front than a yarn source.
How to make t-shirt yarn step by step without the guesswork
Once you’ve picked the right clothes, the rest is mostly about steady prep. You don’t need a studio or fancy gear. You need clean fabric, a flat surface, and a cutting method you can repeat without strain.
The basic idea stays the same no matter which shirt you use. First, remove bulky parts like hems if they are too thick, sleeves if they get in the way, and the neckband. Then cut the body into strips or one continuous strand. After that, stretch the strips so the edges curl inward and the fabric acts more like yarn.
If a jersey strip curls into a soft tube when you pull it, that’s a good sign. It usually means the fabric will be easy to work with.
Wash, dry, and flatten your shirts before cutting
Clean fabric is easier to handle and nicer to store. Wash shirts first, especially if they’ve been sitting in a closet or thrift bag. Dry them fully, because damp fabric shifts while cutting and can mildew in storage.
Next, smooth out wrinkles. A quick press with your hands is often enough, although a light iron on the right setting can help with stubborn folds. Then lay the shirt flat on a table, cutting mat, or large piece of cardboard. Match the side seams as closely as you can, because uneven layers lead to uneven strips.
Before you cut, trim away the bottom hem if it’s thick and rigid. Do the same with the neckband and sleeves if you want a clean rectangle from the shirt body. That gives you a simpler shape and fewer surprises later.
Choose your cutting style: strips, spiral cuts, or continuous yarn
There are three common ways to cut, and each one fits a different mood.
Straight strips are the easiest for beginners. You cut across the shirt from one side to the other, making loops. Then you snip one side of each loop to open it. This method is fast, easy to control, and great when you don’t mind joining pieces later.
Spiral cutting makes one long strand from the whole shirt body. You create a tube, cut slits partway through, then connect those slits on a diagonal so the fabric unwinds in one continuous path. It takes more focus, but it gives you fewer joins.
Continuous yarn from a folded shirt is often the best choice for rugs, large baskets, and other big projects. Fewer joins mean fewer weak spots and a smoother look.
Strip width matters too. Narrow strips, around 3/4 inch, make lighter yarn. Wider strips, about 1 to 1 1/2 inches, create chunkier yarn for sturdy pieces. If the fabric is thin, cut wider. If it’s thick, go narrower. One test strip tells you more than a full plan ever will.
Join the strips and wind the yarn into neat balls
If you cut separate strips, you can join them without bulky knots. The cleanest method is the loop-through join. Cut a small slit near each strip end. Pass one strip through the other, then pull the tail through its own slit and tighten gently. The join lies flatter than a hard knot and moves through stitches more smoothly.
You can sew strips together if you want the strongest join, but that takes more time. For many home projects, the slit join is enough.
After joining, pull the fabric lightly along its length. The strip will curl and smooth out. Then wind it into a ball by wrapping loosely around two fingers first, then turning that center bundle as you keep winding. A ball that is too tight can stretch the yarn and make it kink.
Neat winding helps more than most people expect. It keeps the yarn clean, prevents tangles, and lets you see how much you have before starting a project.
Make prep faster with smart tools and easy workflow habits
Good prep gets easier when you stop wrestling with dull tools and messy piles. A few basic supplies can speed things up and give you cleaner, more even strips with less hand strain.
Simple tools that make cutting easier and safer
Sharp fabric scissors are enough for small batches. For larger batches, a rotary cutter and mat save time and help you keep strip widths consistent. A clear ruler helps you line up cuts, especially if you want matching yarn for a set of baskets or coasters.

Clips or small weights can hold slippery fabric still. Chalk or a washable marker can mark cutting lines if you want more control. Even so, the best tool is still a sharp blade. Dull scissors chew fabric edges and tire your hands fast.
Safety matters here. Keep fingers away from the rotary path, and don’t cut on a soft bed or couch cushion. A stable surface helps you work faster because the fabric stays flat.
Set up a small prep station that keeps you moving
You don’t need a dedicated craft room. One corner of a table can do the job if you keep it organized. Put uncut clothes on one side, scraps in a bin, and finished yarn on the other. That simple layout cuts down on backtracking.
Batching also saves time. Wash several shirts together, sort them by fabric weight, then cut similar items in one session. Your hands learn the rhythm, and your strip size stays more even.
If you prep often, keep a small basket with your cutter, ruler, clips, and measuring tape. Then the whole process feels lighter. You can sit down, make a few balls of yarn, and put everything away in minutes.
Use and store your t-shirt yarn so nothing goes to waste
After prep, your yarn still needs a little care. Good storage protects your time, and smart project matching helps you use each strip where it works best.
Store yarn so it stays tangle-free and ready for later
Loose piles of fabric yarn turn into knots fast. Balls, cakes, or folded hanks are much easier to manage. Store them in baskets, zip bags, or clear bins where dust and pet hair can’t settle in.
Sorting helps too. You can group yarn by color, strip width, or fabric type. That way, when you want soft yarn for a plant hanger or chunky yarn for a rug, you can grab the right batch without digging through everything.

If you like labeling, keep it simple. A small tag with width and fabric type is enough. Cotton jersey, narrow cut. Leggings knit, medium cut. That note can save a project later.
Match the yarn weight to the right kind of project
Prep choices shape the final result. Wide strips from heavy tees make firm yarn that suits baskets, mats, and doorstops. Narrow strips from soft shirts bend more easily, so they’re better for coasters, garlands, simple weaving, or lighter crochet work.
Stretchy leggings yarn can work for ties, headbands, and small storage pieces, although it may be too elastic for structured items. Meanwhile, mixed fabric yarn can add texture in wall hangings or scrap rugs where perfect consistency matters less.
When you’re learning how to make T-shirt yarn, start with one project in mind. That makes it easier to choose strip width, fabric type, and cutting method. Better prep leads to better results, and it also keeps more fabric in use instead of in the trash.
Final Thoughts
A worn-out shirt can still do useful work. With the right prep, it turns into t-shirt yarn that is practical, low-cost, and far better than letting fabric sit unused or head to landfill.
Start with one soft cotton tee and keep the process simple. Once you’ve cut, stretched, joined, and wound a few strips, you’ll have the basics down and a growing stash ready for your next handmade piece. The same prep-first approach works for turning plastic grocery bags into plarn, a strong recycled yarn for totes, mats, and baskets.