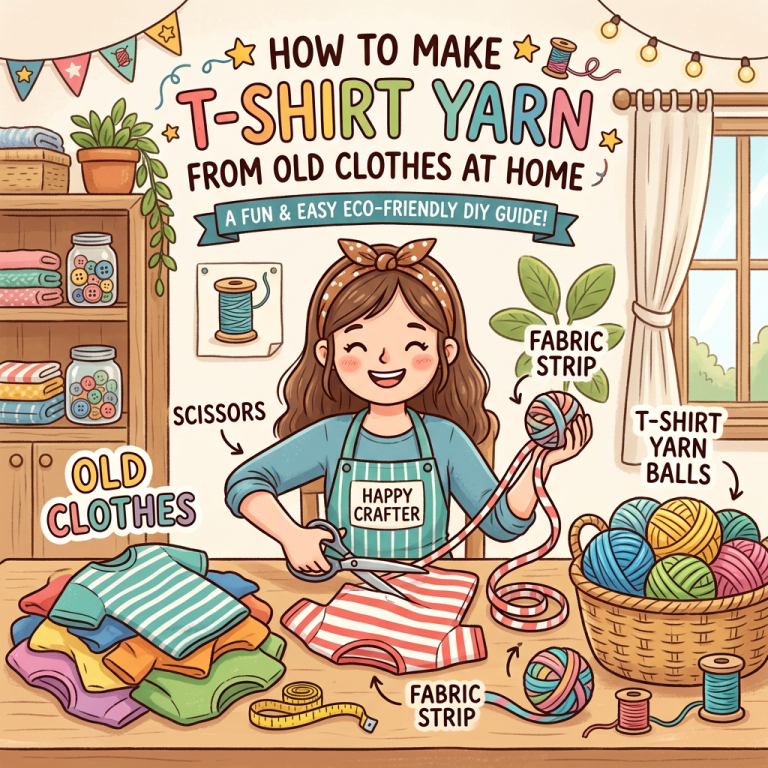
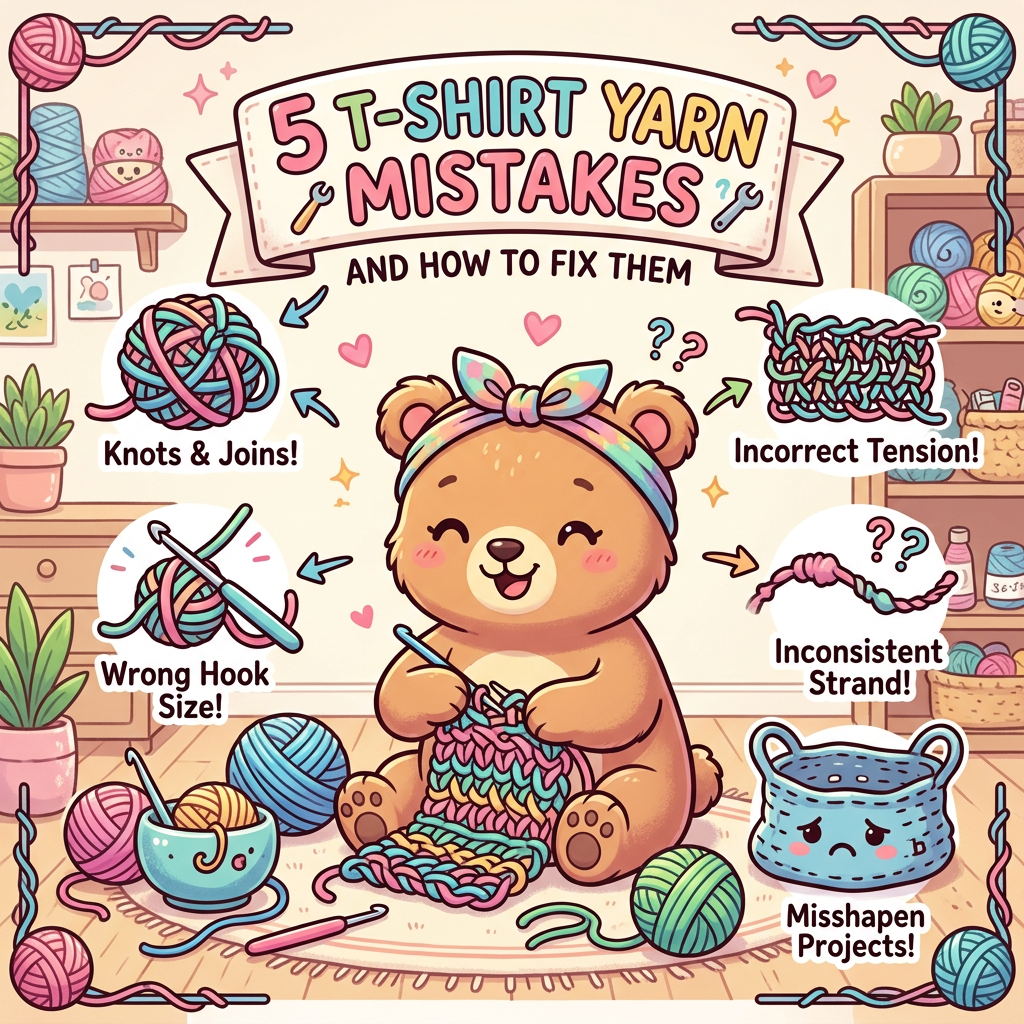
5 T-Shirt Yarn Mistakes That Ruin Projects, and How to Fix Them
Old T-shirts can become baskets, rugs, and storage bins for almost nothing. But t-shirt yarn only works well when the fabric is cut and handled the right way.
If you’ve ever ended up with lumpy strips, weak joins, or a floppy project, you didn’t fail. Most t-shirt yarn mistakes start before the first stitch. A few small fixes can make your yarn smoother, stronger, and much easier to use.
Why t-shirt yarn can go wrong so easily
Store-bought yarn is made to stay even. T-shirt yarn isn’t. Knit fabric stretches, curls at the edges, and changes from shirt to shirt. Because of that, two shirts that look similar can behave in totally different ways once you cut them.
Most problems come from prep, not luck. If the strips vary in width, if the fabric is too stiff, or if the shirt has thick seams, the finished yarn won’t act the same from one section to the next. That shows up fast in crochet and knitting, where tension matters.
How the fabric type changes the yarn
Soft jersey knit is usually the best choice. It curls into a rounded strip, stretches a little, and feels smooth in your hands. Woven fabric, on the other hand, doesn’t curl the same way and often frays instead. That makes it harder to turn into clean, usable yarn.
Fabric weight matters too. Thin shirts can make soft yarn for lighter projects, while heavy shirts create bulky strips that may feel stiff. Side seams, hems, and thick printed areas also change how the strip moves.
What to expect before you start cutting
Take a minute to check the shirt first. Is it soft, stretchy, and free of weak spots? Has it been washed and dried? Do the seams look bulky?
Also, decide your cut direction before you start. A shirt with more stretch across the width may curl better when cut in that direction. That small choice can save a lot of trouble later.
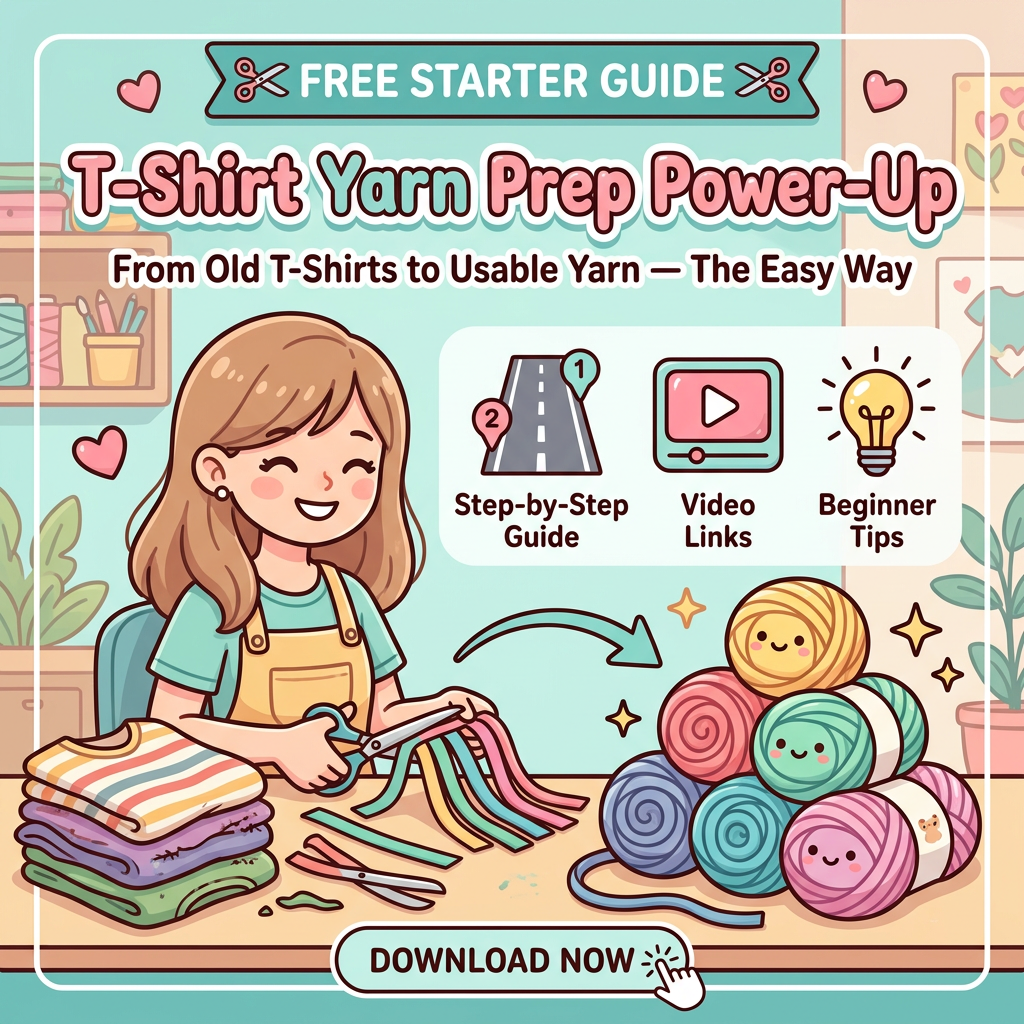
Get Started the Right Way!
Free T-Shirt Yarn Prep Guide
- Step by Step Prep
- What kind of t-shirts to use
- How to cut them
- How to roll and store them
- Mistakes to avoid!
Mistake one, cutting strips that are too narrow or uneven
Uneven strips cause weak spots. They also make your yarn look bumpy and your finished piece look messy. If one strip is thin and the next is wide, your stitches won’t stay consistent.
That matters even more with t-shirt yarn because the fabric stretches under pressure. A narrow section can thin out or snap, while a wide section can feel bulky and hard to pull through stitches.
How to choose the right strip width
For most beginner projects, start with strips about 3/4 inch to 1 inch wide. That range works well for baskets, rugs, and small containers. If the fabric is thin and springy, you can cut a bit wider. If it’s thick and heavy, go slightly narrower.
Always test one strip before cutting the whole shirt. Stretch it once and see how it rolls. If it becomes string-thin, your strips are too narrow.
Easy ways to make cleaner cuts
Use a flat table and sharp tools. A rotary cutter with a ruler gives the cleanest result, but sharp fabric scissors work too. Mark guide lines first if you need them, especially on slippery fabric.
Cut slowly. Speed leads to wobble, and wobble turns into uneven yarn.
Mistake two, not controlling the curl and stretch
Curl is one of the biggest t-shirt yarn problems. Some curl helps, because it hides raw edges and gives the yarn a rounder shape. Too much curl, though, can turn your strips into twisted cords that knot easily.
Stretch matters just as much. If you pull every strip hard, the yarn thins out and loses strength. If you never stretch it at all, the edges may stay flat and awkward.
Test one strip first. A light pull should roll the edges inward without making the fabric skinny.
When to stretch the strips and when to stop
Give each strip a gentle pull, not a full tug-of-war. Watch the edge. If it rolls neatly, stop there. If the strip looks thinner in the middle than at the ends, you’ve gone too far.
Different shirts need different handling. A soft, stretchy tee may curl with almost no effort, while a denser cotton shirt may need more coaxing.
How to keep the curl from taking over
As you cut, gather strips into loose loops or small bundles. Don’t toss them into a pile. That invites twisting and knots.
If you wind the yarn into a ball, keep it loose. Tight winding adds more stretch, and that can change the thickness before you even start your project.

Mistake three, skipping the prep work before crocheting or knitting
It feels tempting to cut a shirt and start stitching right away. Still, that shortcut often leads to snags, knots, and uneven tension. A few minutes of prep can save hours of frustration.
Why washing and drying the shirt matters
Wash the shirt before cutting it. Dirt, body oils, and fabric softener buildup can change how it feels and stretches. A clean, fully dry shirt is easier to cut and nicer to handle.
Prewashing also shows you how the fabric behaves. If it shrinks, twists, or gets rough after drying, you’ll know before it becomes yarn.
How to join strips without bulky lumps
Knots create hard bumps, especially in baskets and rugs. A slit join usually looks cleaner. Cut a small slit near the end of each strip, thread one through the other, then pull it through itself to lock it in place.
Space your joins out as you work. If several joins land in one area, that section will look thick and uneven.

Mistake four, using the wrong shirt for the project
Not every T-shirt makes good yarn. The best shirts are soft cotton knits with a little stretch and few thick seams. Solid colors and simple prints often give the cleanest finished look, especially if you want the piece to feel polished enough to gift or sell.
Problem shirts show their flaws fast. Heavy side seams create lumps. Thick logos make stiff patches. Worn thin spots can tear once the strip stretches. If the shirt feels rough in your hands before cutting, it probably won’t improve later.
Mistake five, not matching the yarn to the project
Even good yarn can fail in the wrong project. T-shirt yarn is bulky, strong, and a bit heavy, so it works best in items that benefit from structure. Baskets, trivets, rugs, and small storage pieces are great beginner choices because they forgive minor tension changes.
Detailed items are harder. If a project needs crisp shaping, fine stitch work, or a light drape, t-shirt yarn may fight you the whole way. In those cases, switching materials saves time and gives a better result.
How to fix bad t-shirt yarn after it is already cut
A bad batch doesn’t always belong in the trash. First, sort strips by width. Keep similar sizes together so each bundle stays more consistent. Then trim rough spots, remove weak seams, and save the better sections for visible parts of the project.
Short or uneven strips still have value. Use them for swatches, handles, accents, or the base rounds of a basket where joins won’t show as much. If the yarn keeps snagging, splitting, or stretching out of shape, start over with a better shirt. That isn’t wasted effort. It’s part of learning how to spot usable fabric faster.
Key Takeaways
Most t-shirt yarn mistakes are easy to fix once you know where they start. Better shirt choice, cleaner cuts, and a little prep make a huge difference in how the yarn feels and how the final project holds up.
The good news is simple. You don’t need perfect shirts or fancy tools. You need steady cuts, smart handling, and the confidence to redo a weak batch before it ruins the whole piece.
Beyond fixing individual projects, turning old shirts into t-shirt yarn also cuts textile waste, giving worn clothes a practical second life. The same prep lessons apply to common plarn mistakes from plastic bag yarn, which trip up crafters in similar ways.