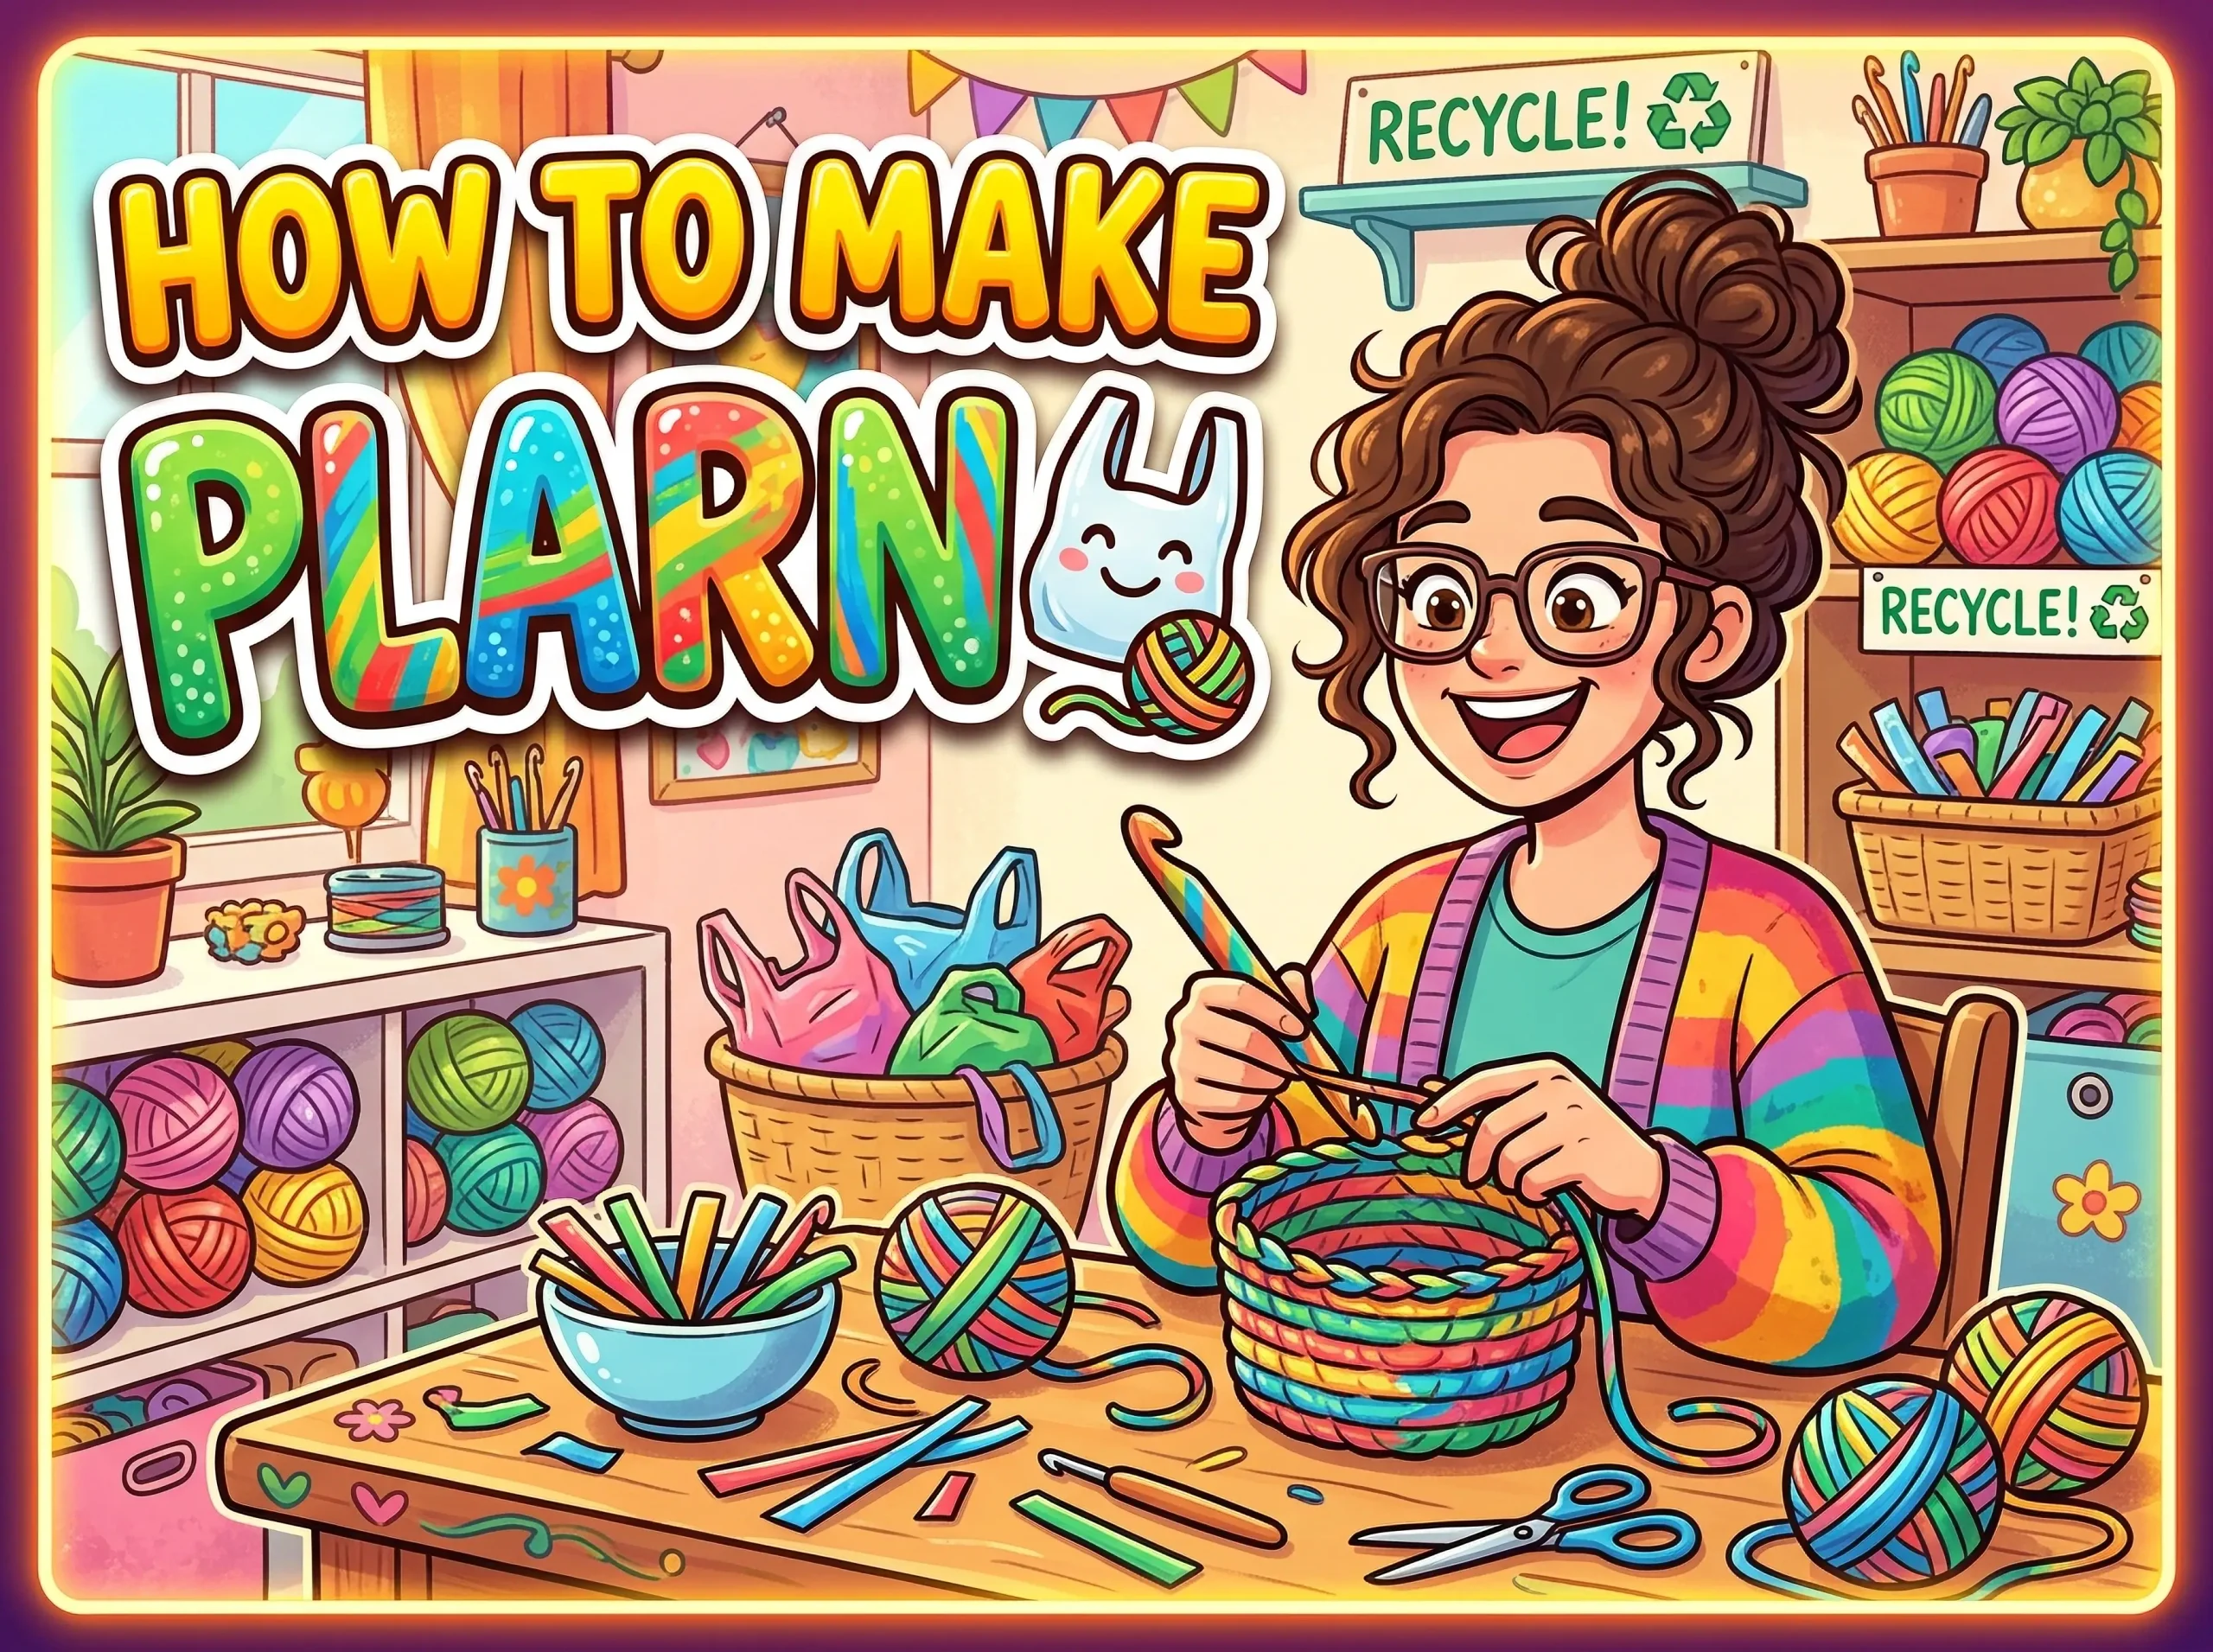
How to Make Plarn With the Right Tools and Better Prep
Saved grocery bags can pile up fast. Instead of stuffing them into a cabinet, you can turn them into plarn, a plastic yarn used for crochet, weaving, and simple utility projects.
If you’ve been wondering how to make plarn, the first cut isn’t the hard part. The prep is. A few basic tools, better bag choices, and a tidy setup can mean the difference between smooth yarn and a tangled mess. If you’d like a simple reminder sheet as you work, download the free checklist linked on this page.
What You Really Need Before You Start Making Plarn
You don’t need a packed craft room to make good plarn. In most cases, a few household basics will do the job well. The goal is simple: make clean cuts, keep the strips even, and avoid wasting time fixing problems later.
Good tools also take pressure off your hands. That’s helpful when you’re cutting several bags in one sitting. Meanwhile, the wrong tools can make each strip feel like a fight.
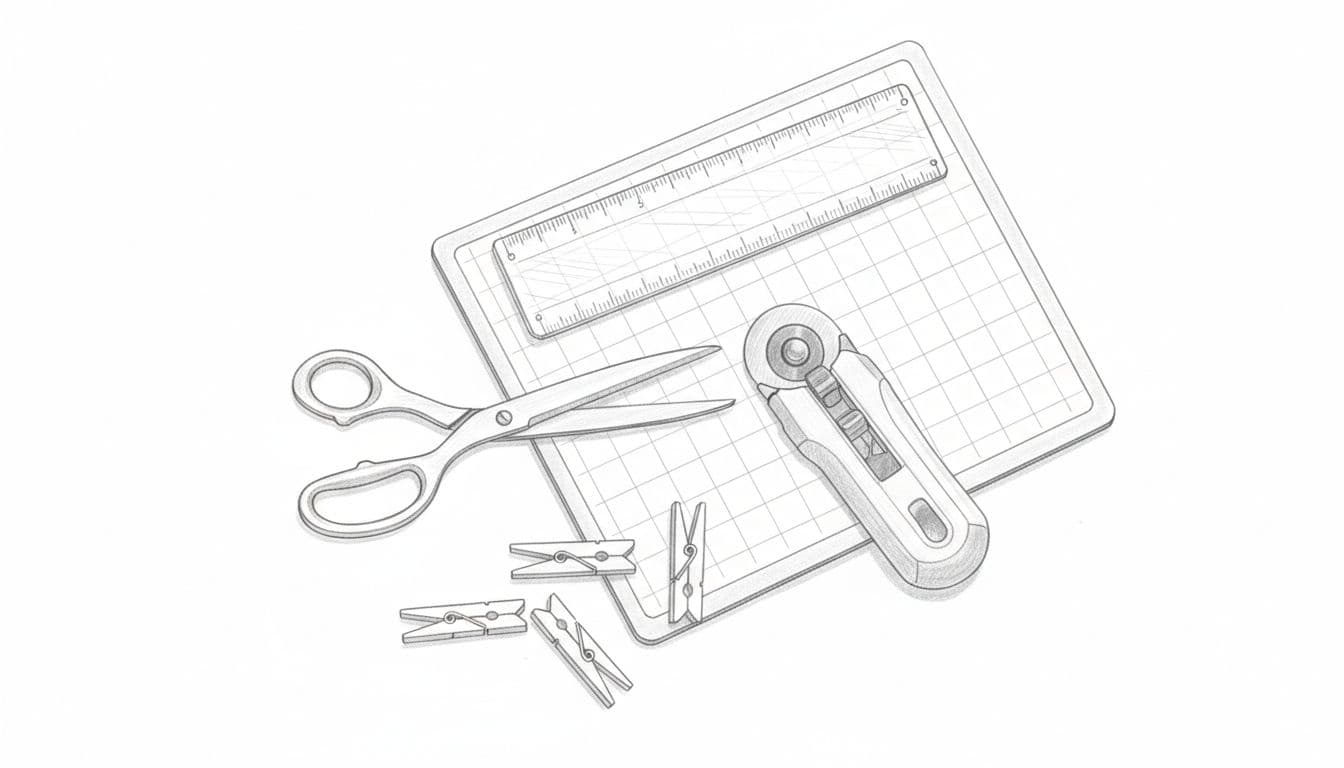
The basic tools that make cutting and joining easier
Start with sharp household scissors. They don’t need to be fancy. They do need to cut cleanly. If you want faster, straighter cuts, a rotary cutter can help, but it’s optional.
Most beginners do best with these basics:
|
Tool |
Need it? |
Why it helps |
|---|---|---|
|
Household scissors |
Yes |
Clean cuts without spending much |
|
Self-healing mat |
Helpful |
Protects the table and helps with neat cutting |
|
Ruler or measuring guide |
Helpful |
Keeps strip widths more even |
|
Clothespins or clips |
Optional |
Hold folded bags in place |
|
Rotary cutter |
Optional |
Speeds up cutting once you’re comfortable |
Don’t use your fabric scissors on plastic bags. Plastic dulls fine blades fast, and fabric scissors cost too much to ruin on prep work. Use regular scissors instead. If they wear out, replacing them won’t hurt nearly as much.
A clean, flat work surface matters too. Kitchen tables work well. Folding trays usually don’t, because the surface shifts. When the table stays steady, your hands do too.
Use the simplest setup that keeps your cuts clean. Fancy tools won’t fix rushed prep.
Which plastic bags work best, and which ones to skip
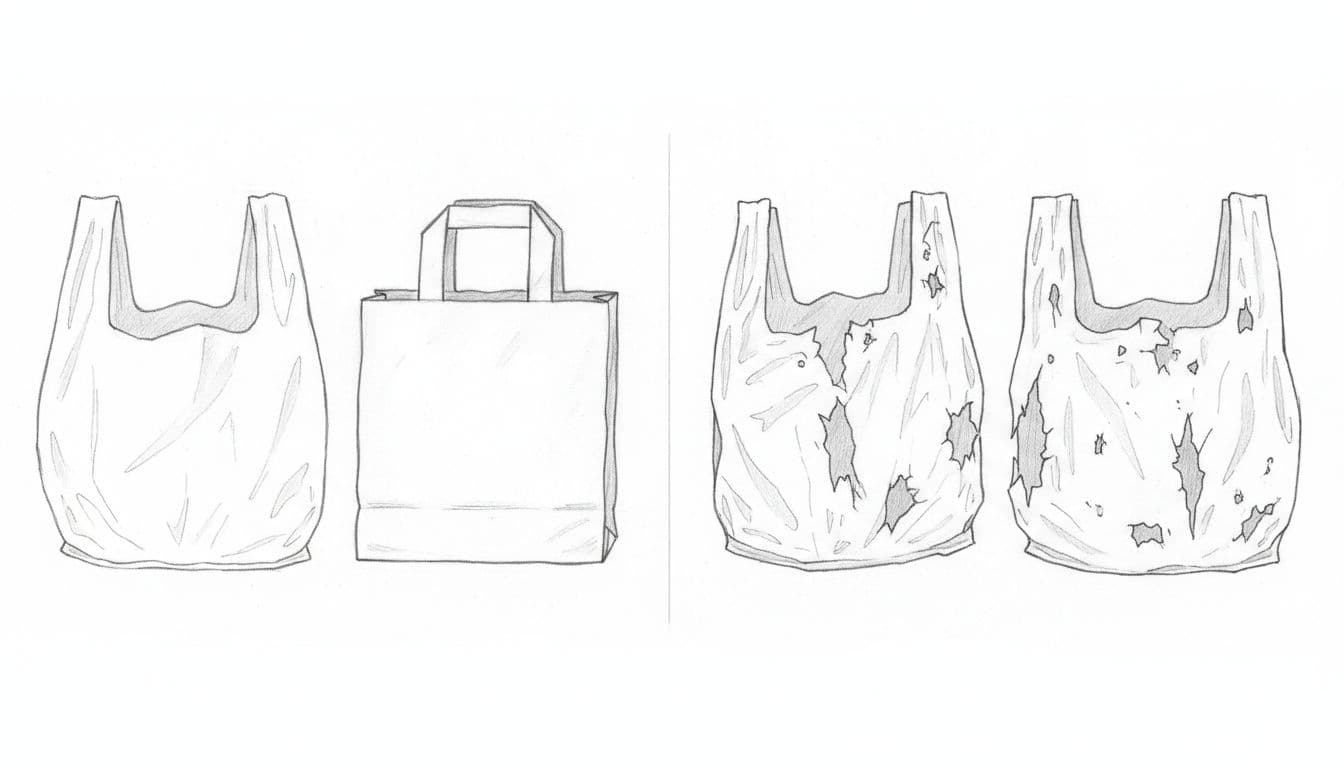
Not every bag turns into usable plarn. Standard grocery bags are often the easiest place to start because they fold flat and cut into smooth loops. They also join well when the plastic still has some stretch.
Thicker retail bags can work, but they create stiffer plarn. That can be useful for baskets, mats, or structured projects. Still, if you mix thick bags with thin grocery bags, the final yarn can feel lumpy.
Skip brittle old bags. If a bag crackles loudly, tears at the handles, or has dry-looking folds, it probably won’t hold up. Also skip bags with holes, stretched corners, sticky residue, or heavy wear. Those weak spots become weak yarn.
Try to group similar bags together. Consistent thickness gives you more even plarn, and more even plarn gives you more usable results. Think of it like baking with equal slices instead of random chunks. The mix behaves better.
If you’re new, start with one type of bag for one batch. That makes it easier to learn what works.
Set Up Your Space So Plarn Prep Feels Simple, Not Messy
A small setup change can save a lot of frustration. Before you cut anything, clear your table, gather your tools, and sort your bags. Then the work flows instead of stopping every two minutes.
This part may seem boring. It isn’t. It’s the part that keeps the rest from turning into a pile of slippery plastic strips.
How to clean, flatten, and sort plastic bags for better results
First, check each bag. Remove receipts, stickers, crumbs, and anything tucked inside. If a bag feels dusty or grimy, wipe it with a barely damp cloth and let it dry fully before cutting. Wet plastic slides, and damp bags stick together.
Next, flatten each bag by smoothing out the sides and pressing trapped air toward the opening. You don’t need perfection. You do want the layers lined up so your cuts stay even.
Sorting helps more than people expect. Group bags by size, thickness, and color. Then set aside any unusual bags, such as glossy retail sacks or extra-soft produce bags. Those can be useful later for accents, but they can throw off a beginner batch.
When your bags are sorted, matching a future project gets easier too. Need a neutral mat? Reach for one pile. Want a striped look? Pull from a few color groups. That small habit pays off later.
A safe cutting setup that helps you avoid slips and jagged strips
Good lighting comes first. Shadows hide edges, and hidden edges lead to crooked cuts. A bright overhead light or a lamp aimed at the table helps right away.
Then use a stable table and keep your cutting area clear. Place the mat in front of you, keep scissors to one side, and stack folded bags on the other. That way, nothing slides under your hands.
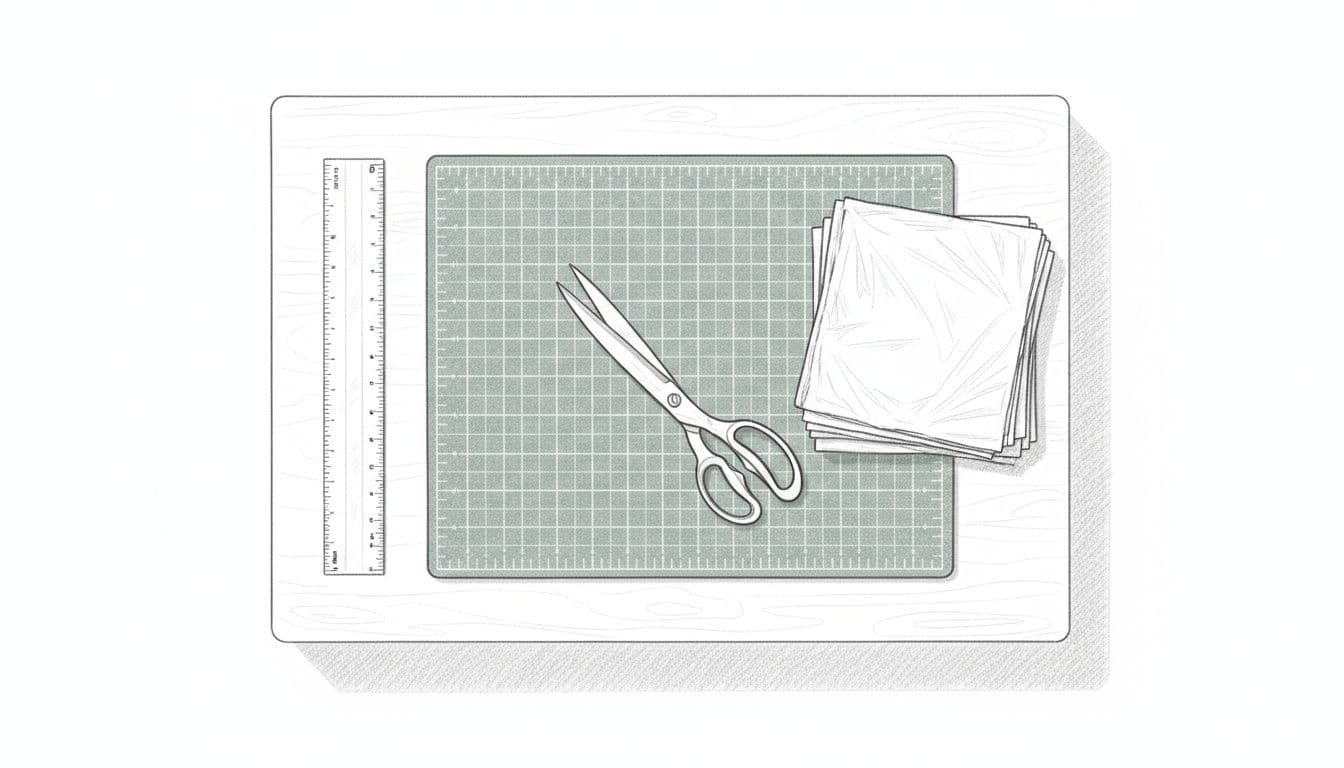
Keep your fingers clear of the cutting line, especially if you use a rotary cutter. Also, fold bags neatly before cutting. Uneven folds create uneven loops. For first-time makers, careful setup matters more than speed. Fast comes later.
A calm table produces calmer hands. That’s not fluff. It’s the difference between clean strips and jagged ones.

Grab your Free Guide!
This guide will walk you through all of the steps to create your first ball of plarn!
How to:
- choose the right bags
- clean them
- cut them
- store them
How to Make Plarn Step by Step With Even Strips and Strong Joins
Once the bags are clean, sorted, and flat, the process gets easier. This is the part most people mean when they search for how to make plarn. Done slowly, it’s simple.
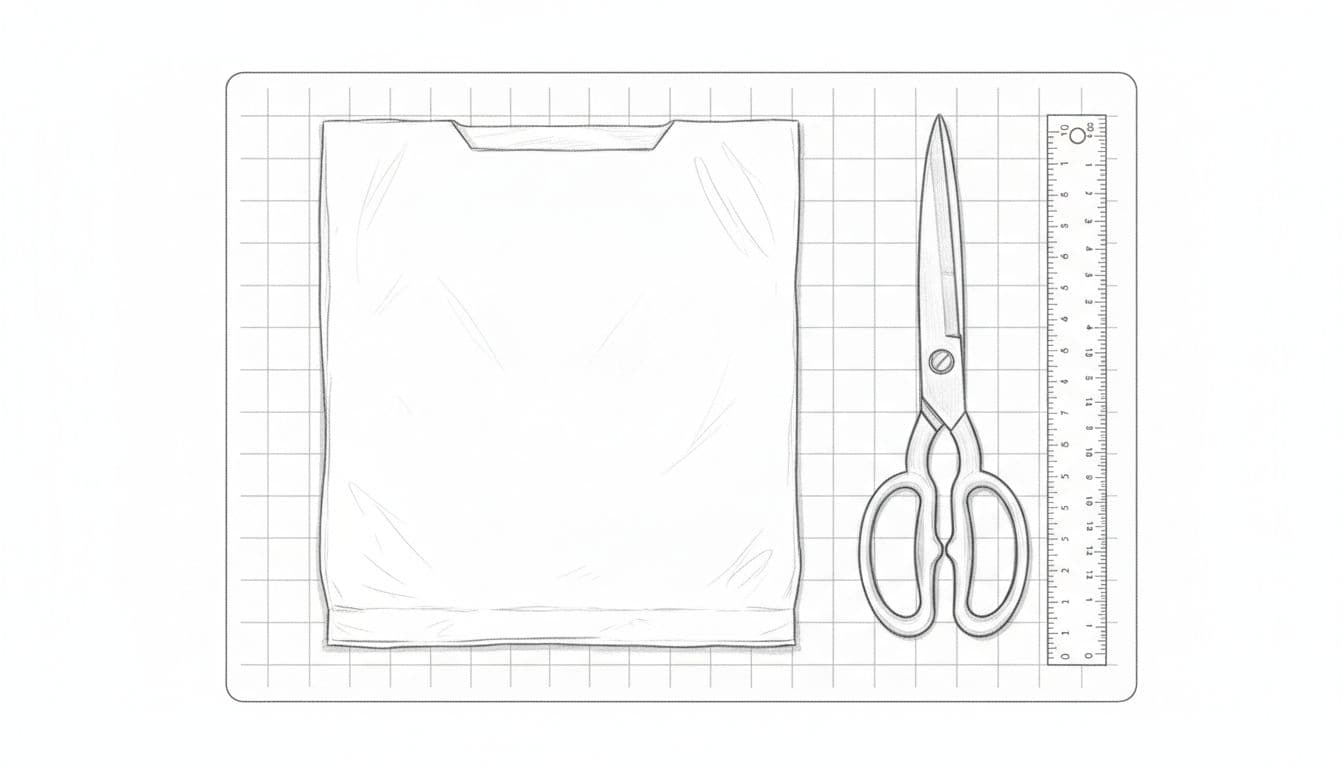
Fold the bag, trim the handles and bottom, then cut clean loops
The loop method is beginner-friendly because it creates tidy rings that are easy to join. Here’s the basic process:
- Lay one bag flat and smooth it out.
- Fold it lengthwise into a long rectangle.
- Trim off the handles and the sealed bottom edge.
- Cut across the folded bag to make loops.
Strip width changes the final thickness of your plarn. Narrower strips make lighter yarn. Wider strips make chunkier yarn. A good starting point is about 1 inch for thinner plarn or 1.5 inches for thicker plarn.
Try to keep the cuts as even as you can. That matters because uneven strips show up later in your stitches. Sometimes a choppy look is part of the charm. If you want a smoother finish, use a steady hand and keep the width consistent from one cut to the next.
Link the loops together without making weak spots
Take one loop and thread a second loop halfway through it. Then pull the loose end of the second loop through its own other end. Pull gently until the join sits snug.
That creates a clean loop-through-loop join without knots. Knots add bulk. Bulk catches on hooks and makes stiff spots in the yarn.
The key is tension. Pull too hard, and thin plastic can tear. Pull too loosely, and the join can gape. Aim for snug, not stretched. After every few joins, give the chain a quick check before winding it up.
Wind and store your plarn so it stays neat and ready to use
As your length grows, wind it into a loose ball, a flat bundle, or a small skein. Don’t pull it tight while winding. Stretched plastic can stay misshapen, and that affects how it works up later.
Keep finished plarn dry and away from heat. A cool drawer, lidded bin, or shelf basket works well. If you made several types, label them by color or thickness so you don’t mix a soft batch with a stiff one.
This is also a good time to test a short strand with your hook. If it feels too thick, cut your next batch narrower. If it feels flimsy, go a little wider.
Common Plarn Problems and Easy Fixes for Better Yarn
Every first batch teaches something. That’s normal. Most plarn problems come from bag choice, strip width, or rushed cutting, and all of those are easy to improve.
Why strips tear, stretch, or come out uneven
If strips tear while you join them, the bag may be too old or too thin. If they stretch out of shape, you may be pulling too hard. When cuts come out jagged, dull scissors are often the cause.
Mixed bag thickness can also create a stop-and-start feel. One loop feels strong, the next feels flimsy. Then the finished piece looks uneven. Folded bags can cause trouble too. If the layers slide out of place, the strip widths drift.
If you want your stitches to look even, make the strips even first.
Slow down on the next batch. Refold the bag. Replace dull scissors. Hold the plastic flat with a clip if needed. Most problems improve quickly once your cuts become steady.
How to make your finished plarn smoother and more useful for projects
Use similar bags together whenever possible. That gives the plarn a more even feel and a cleaner look. Keep strip widths consistent too. Thin-thick-thin-thick plarn can work, but it creates a rougher texture.
Before making a full ball, test a few joined loops. Crochet or knot a tiny sample. Then check how it bends, how it pulls, and how the joins behave. It’s a small step, but it saves time.
Save unusual bags for accents instead of full projects. A glossy boutique bag or a thick pet-store sack can add interest in small amounts. On its own, though, that same bag might make the whole piece too stiff.
Good plarn doesn’t need to look perfect. It needs to be even enough to work well.
Good plarn starts long before you crochet the first stitch. The right bags, a few basic tools, and steady prep make the whole process easier.
Start small. Cut a few bags, join a short strand, and learn what thickness you like best. Then keep the free checklist nearby and download it from the link on this page, so your next batch feels even simpler.