Plarn Mistakes That Ruin Your Yarn and Waste Your Time
A bad plarn project usually starts long before the first stitch. If you want to save time, save plastic bags, and skip a pile of frustration, the prep work helps avoid the most common plarn mistakes.
Plarn, short for plastic bag yarn, can be strong, useful, and surprisingly neat-looking. But only if you make it well. A few early mistakes can leave you with weak strips, bulky balls, tangles, and sore hands. Fix these issues early, and your projects will look better, work up faster, and waste far less effort.
Mistake 1, using the wrong plastic bags from the start
Not every bag wants to become plarn. Some fight you from the first cut, then keep causing trouble all the way through the project.
That matters because bad bags create bad yarn, even if your cutting is careful. If the plastic is too stiff, too brittle, or too thin, your plarn won’t feel steady in your hands. It may snap, curl, or make your stitches look uneven.
Which bags make smooth, workable plarn and which ones fight you the whole way
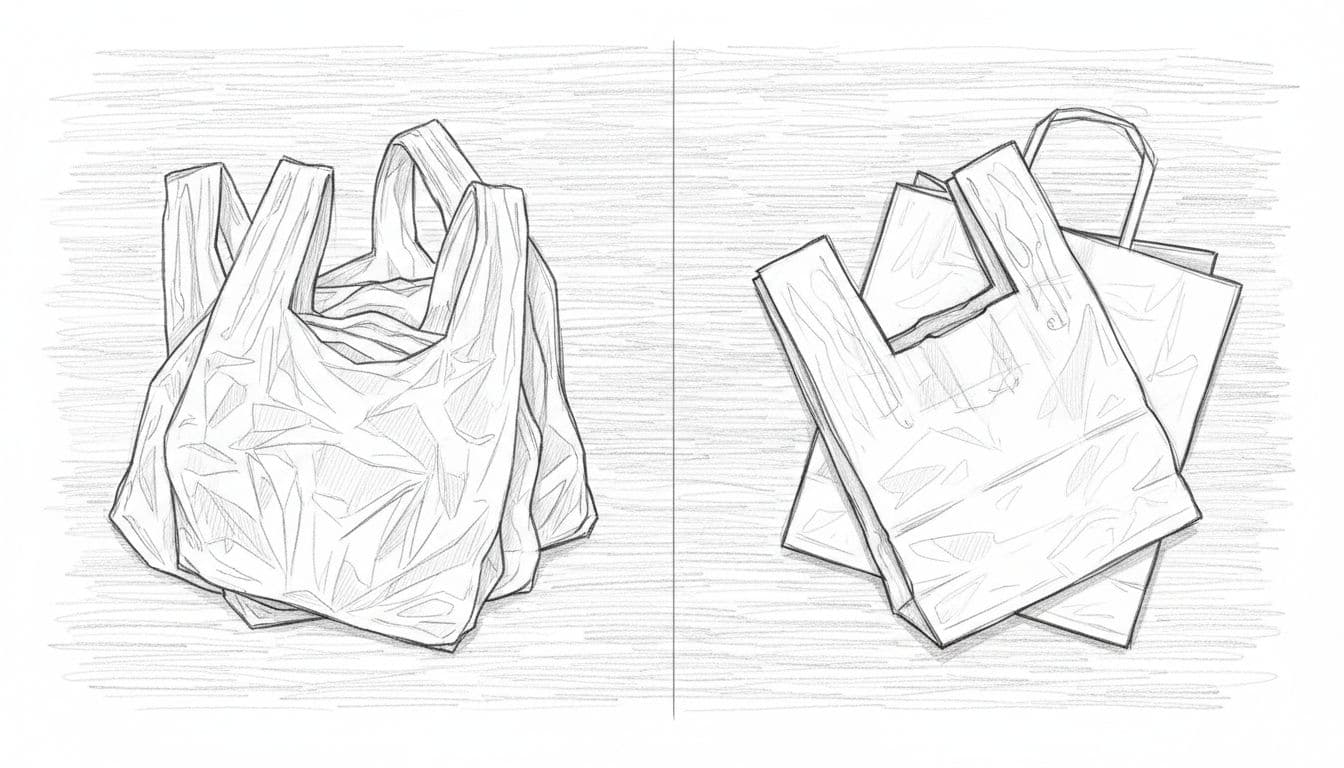
The easiest bags to use are soft, slightly stretchy, and fairly even in thickness. When you pull them gently, they should give a little instead of cracking or tearing fast. Those bags usually cut cleanly and turn into plarn that bends well.
By contrast, thick retail bags often feel glossy and stiff. They can make heavy, rope-like plarn that’s hard to crochet. Crackly bags are another problem. They may seem sturdy, but they often split at weak spots. Produce bags sit on the other end of the scale. Many are too thin, so the strips can stretch out and tear under tension.
Bags with heavy printed areas can also behave oddly. The inked section may feel less flexible than the plain plastic around it. That means one strip can act like two different materials.
If a bag feels pleasant in your hand before cutting, that’s a good sign. If it feels noisy, rigid, or dry, skip it for another use.
How to sort and match bags before you cut them
Mixing random bags in one batch is like baking with flour, cornmeal, and sugar in the same scoop. You’ll get something, but it won’t be even.
So sort first. Group bags by thickness, feel, size, and color. Bags that seem similar will usually cut into plarn with similar stretch and strength. That makes your finished project look cleaner and feel more uniform.
Use one batch for one purpose where you can. Soft grocery bags are great for everyday baskets or mats. Heavier bags may work better for firm sections, but only if the whole batch matches. Small sorting now saves a lot of fixing later.
Most plarn problems start at the prep table, not on the hook.
Mistake 2, cutting bags that were never flattened and lined up right
Rushing through bag prep feels faster. It isn’t.
When a bag isn’t flat, every cut becomes a guess. Twisted layers, trapped air, and crooked folds throw off the width of each strip. Then you’re left with yarn that changes size every few inches.
What happens when folds, wrinkles, and trapped air throw off every cut
One messy fold can ruin several strips at once. A wrinkle hides part of the plastic, so the strip turns too narrow there. A puff of trapped air lifts the bag, so your scissors drift and cut wide. If the bottom seam sits crooked, the whole stack shifts.
That leads to weak points and bulky spots in the same strand. Later, when you crochet, those thin areas tighten too much or break. Meanwhile, the wide parts feel clumsy and stiff. The yarn feeds unevenly, so your tension never feels settled.
Beginners often blame their hook size or stitch choice. More often, the problem started with a bag that wasn’t prepped well.
A simple way to flatten bags fast without slowing down your workflow
Keep this step plain and repeatable. You don’t need perfection. You need a bag that stays still.
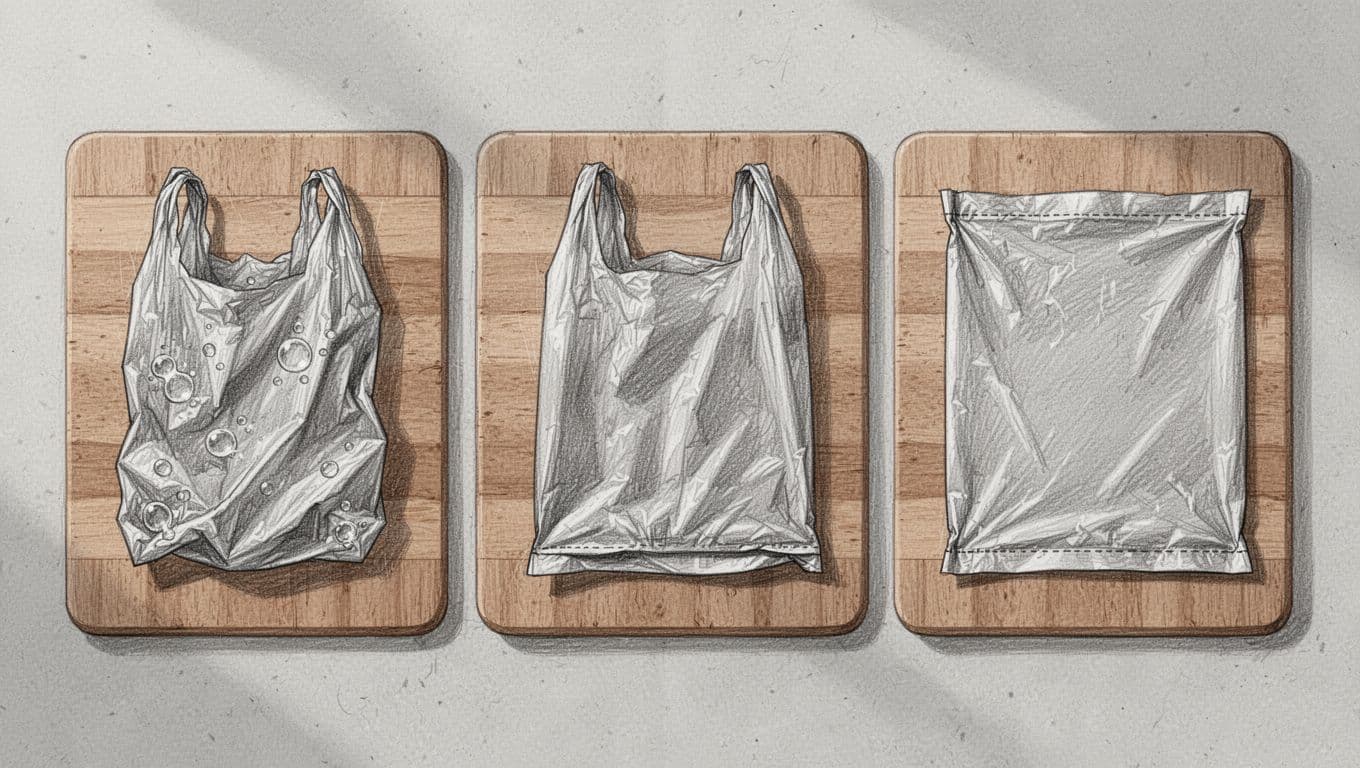
- Lay the bag flat on a table or mat.
- Smooth the body with your hand and press out the air.
- Tuck the sides in so the edges line up.
- Match the bottom seam and flatten it again before cutting.
After a few bags, this becomes automatic. In fact, it often speeds you up because you stop fighting surprise folds and bad cuts. Clean prep gives you cleaner strips, and cleaner strips give you smoother plarn.
Mistake 3, cutting uneven strip widths that make weak and bulky yarn
Strip width controls more than appearance. It changes the strength, stretch, and feel of the plarn in your hand.
When widths jump all over the place, your yarn acts unpredictable. Some sections pull tight. Others bunch up. The finished piece can look lumpy, even if your stitches are neat.
Why narrow strips snap and wide strips create stiff, chunky sections
Very narrow strips may seem smart at first. They use less material, and the ball looks tidy. But thin strips often tear when you pull them through a stitch, especially at bag seams or printed spots.
Wide strips create the opposite problem. They’re stronger, but they can feel like flat ribbon instead of yarn. That makes them heavy, stiff, and awkward in smaller projects. A tote or floor mat may handle that bulk. A smaller basket rim or decorative edge may not.
The best width depends on the bag and the project, but consistency matters more than chasing a perfect number. If your strips stay close in size, your plarn will behave more like a true yarn and less like a pile of random plastic.

How to keep strip width consistent, even if you are cutting by hand
Hand-cut plarn doesn’t need to look machine-made. Still, you want a steady target.
A ruler helps, especially when you’re learning. So does a cutting mat with grid lines. If you don’t use either, make a simple paper or cardboard guide and keep it nearby. Then mark a few points before each cut instead of eyeballing the whole bag.
Try one test bag first. Cut it, stretch the strips, and see how they feel. If they seem weak, go wider. If they feel too bulky, go a bit narrower. Then stay with that choice for the rest of the batch.
Small drift is normal. Big swings are what cause trouble.

Grab your Free Guide!
This guide will walk you through all of the steps to create your first ball of plarn!
How to:
- choose the right bags
- clean them
- cut them
- store them
Mistake 4, switching cutting methods midstream and ending up with a tangled mess
Plarn can be cut in loops or in a spiral. Both methods work. The problem starts when you change methods without thinking through the result.
That mix can leave you with different strip lengths, different stretch, and a ball that doesn’t feed well. Then you spend more time untangling than making.
Loop cut vs. spiral cut, what each method does best
Loop cutting is simple and beginner-friendly. You flatten the bag, cut across it, and get separate loops. Then you join them together. It’s easy to control, easy to repeat, and good for batch prep.
Spiral cutting gives you one longer strip from a single bag. That means fewer joins, which many people like. But it also takes more control. If your cut drifts, the width changes fast.
Neither method is better in every case. The better method is the one you can repeat with steady results. If you’re new to plarn, loop cuts often feel less stressful. If you want long continuous strips and you cut neatly, spiral cuts may suit you.
Why mixing methods in one batch makes your plarn harder to use
Mixed methods change how the plarn feeds through your hand. Loop-cut plarn has more joins. Spiral-cut plarn has longer runs. Those differences affect tension, stretch, and how often you stop.
If you combine both in one ball, the yarn can feel inconsistent from section to section. One part may glide. The next part may snag at joins or pull tighter. It’s not impossible to use, but it’s less predictable.
For that reason, keep one cutting method per batch or per project. Predictable plarn is easier to crochet, easier to match, and easier to trust.
Mistake 5, skipping the stretch and tension test until the project is already underway
Plarn doesn’t behave like cotton or acrylic yarn. It changes when you pull it, twist it, knot it, or work it into stitches.
That’s why a quick test matters. It tells you how the plastic reacts before you invest hours into a basket, bag, or mat.
How plarn changes after you pull on it, twist it, or crochet a few rows
Some strips stretch nicely and become more cord-like. Others narrow down too much and turn weak. A few curl at the edges and twist into tight little strings. Some feel smooth when flat, then catch on your hook once they’re under tension.
You won’t know which kind you have by looking alone. A short hands-on test tells the truth fast.
Take one strip and pull it gently. Then pull a little harder. Twist it once or twice. If it splits, thins too much, or feels rough on your fingers, that batch may need wider cuts or a different bag type. If it holds shape and still bends well, you’re in a good place.
A quick test that tells you if your plarn is ready to use
Keep the test simple so you’ll do it every time.
Cut a few strips from the same batch. Join them the way you plan to join the full ball. Then crochet or knot a tiny sample, only a few rows. Watch for weak spots, stiffness, sharp edges, and how the plarn moves through your hand.
If the swatch feels awkward now, it won’t feel better after 200 stitches. Change the strip width, switch bag types, or sort the batch again before going further.
That small pause can save a full remake. And that’s time worth saving.
Prep slowly once, work faster the rest of the way
Weak bags, messy flattening, uneven widths, mixed cutting methods, and skipped testing all cause trouble before the first real stitch. The strongest fix is simple, slow down during prep so the rest of the project moves smoothly.
Good plarn doesn’t start with talent. It starts with better choices. If you want cleaner results and less wasted effort, grab UpscaleCrafts’ free Plarn Prep Guide before your next batch.
Your hook work gets easier when your prep work stops fighting you.
Once your prep is solid, explore beginner-friendly plarn projects that make the most of your improved yarn.
Grab your Free Guide!
This guide will walk you through all of the steps to create your first ball of plarn!
How to:
- choose the right bags
- clean them
- cut them
- store them